How to Apply XXXL Long Coffin Tips Like a Pro
Step-by-step guide to apply XXXL long coffin tips for flawless salon-quality results at home or in the studio.
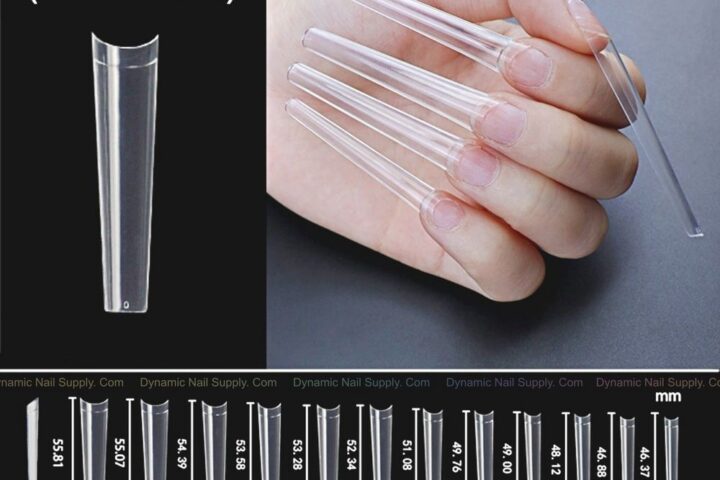
If you want dramatic length with a clean, straight silhouette, XXXL long coffin tips deliver a standout canvas for manicures. This guide walks through professional prepping, application, shaping and finishing so you achieve secure, salon-quality results whether you’re working at home or in a busy chair.
Why choose XXXL long coffin tips?
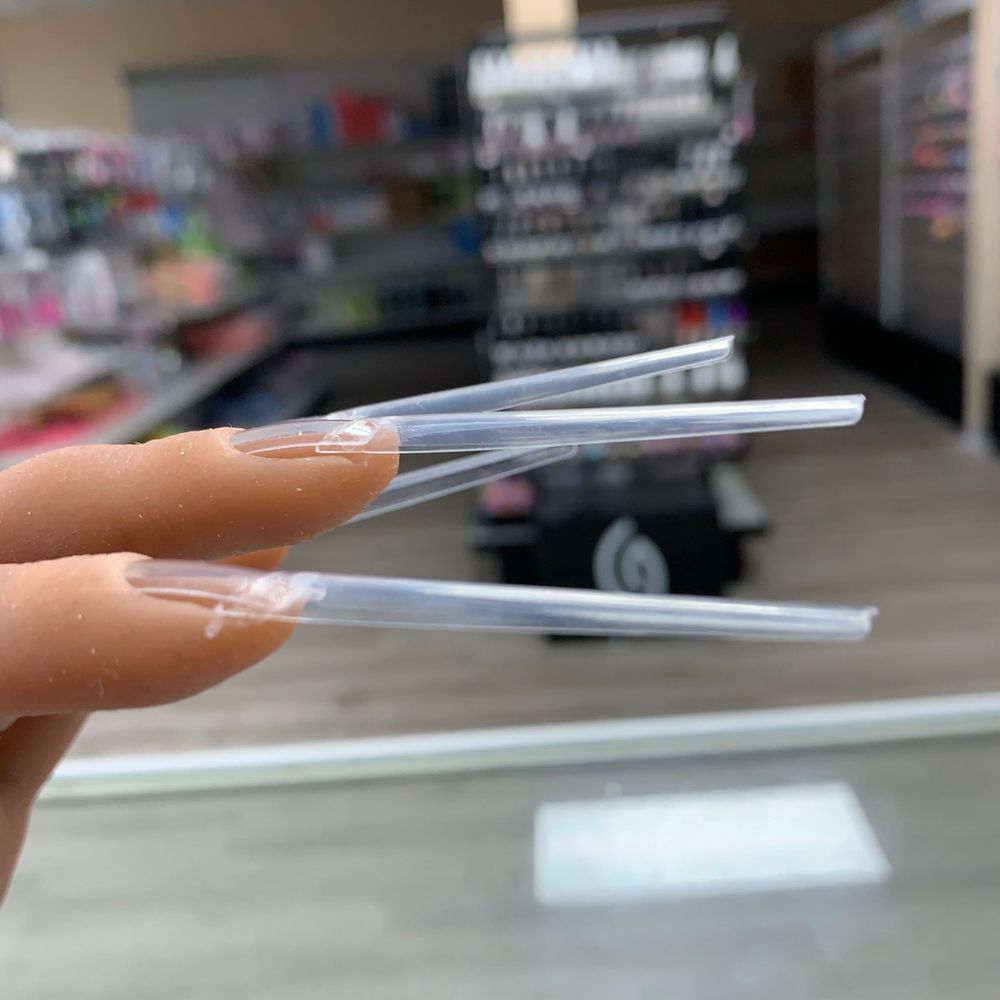
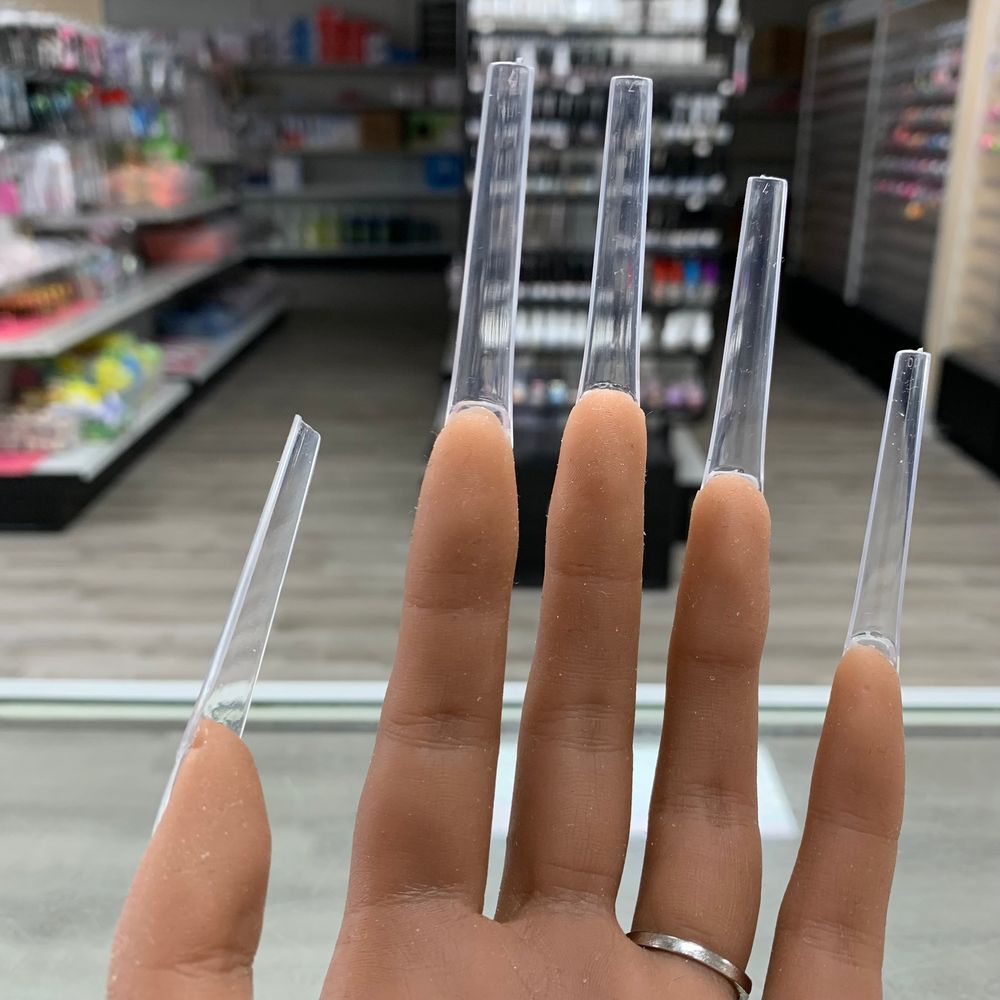
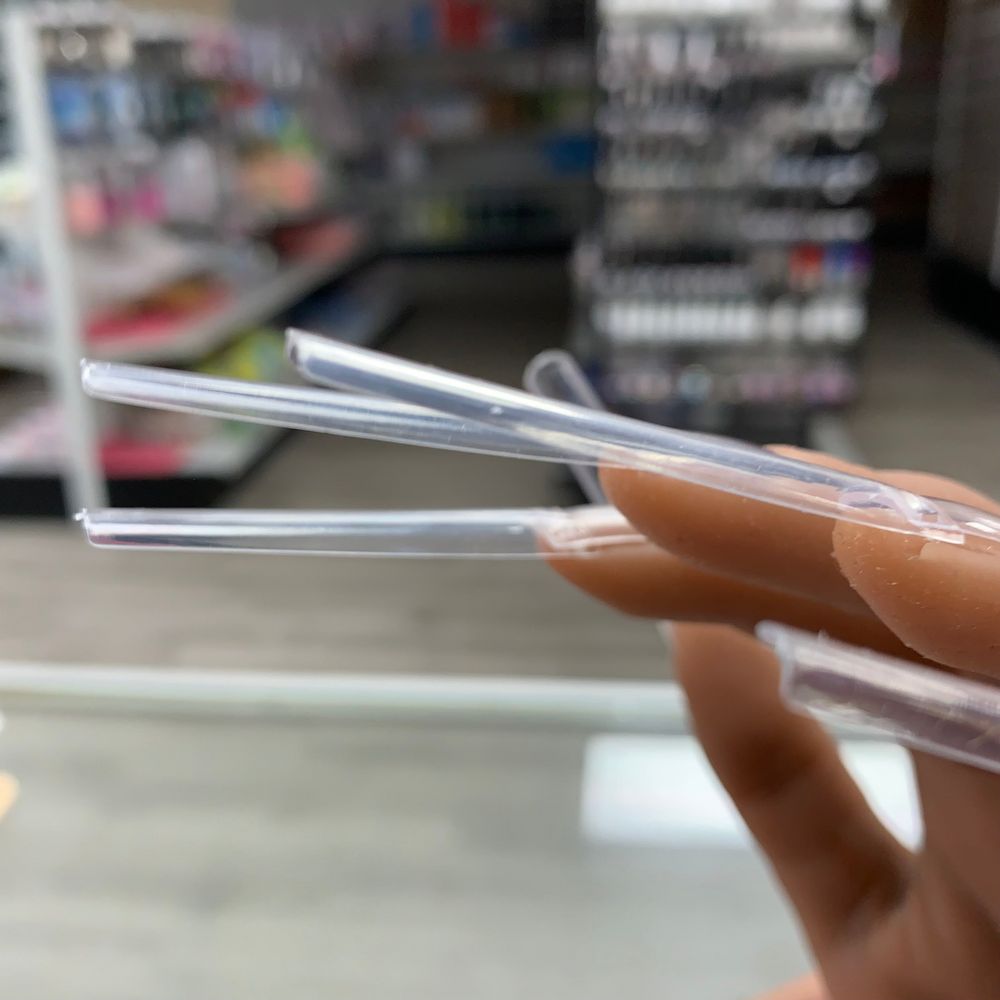
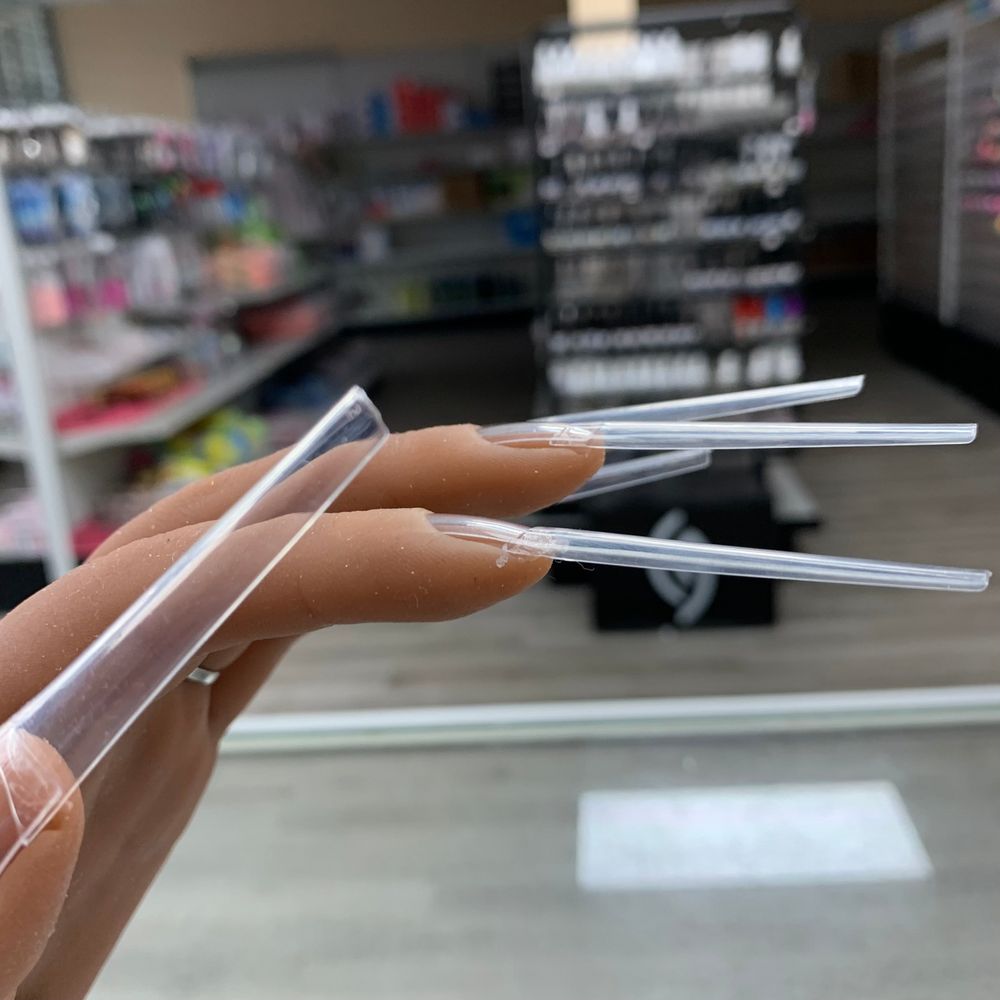
These clear, extra-extra-extra-long coffin tips are designed with a straight profile rather than a C-curve, which makes them easier to position and blend against the natural nail. Their tapered coffin shape gives an elongating effect that’s ideal for bold looks, nail art and statement finishes. They come in bulk box and refill sizes to suit both salons and practice at home.
What you’ll need before you start
- Clean nails and a lint-free surface
- Professional nail glue or adhesive suitable for tips
- Fine nail file and buffer
- Cuticle pusher or orangewood stick
- Optional: dehydrator and primer for longer wear
- Top and base coats or builder product for finishing
Step-by-step application for a pro finish
1. Prep the natural nail
Start by removing oils and gently pushing back cuticles. Lightly buff the nail plate to create a key for adhesive. If using a dehydrator and primer, apply them sparingly—this will improve adhesion for long-length tips.
2. Size and test-fit
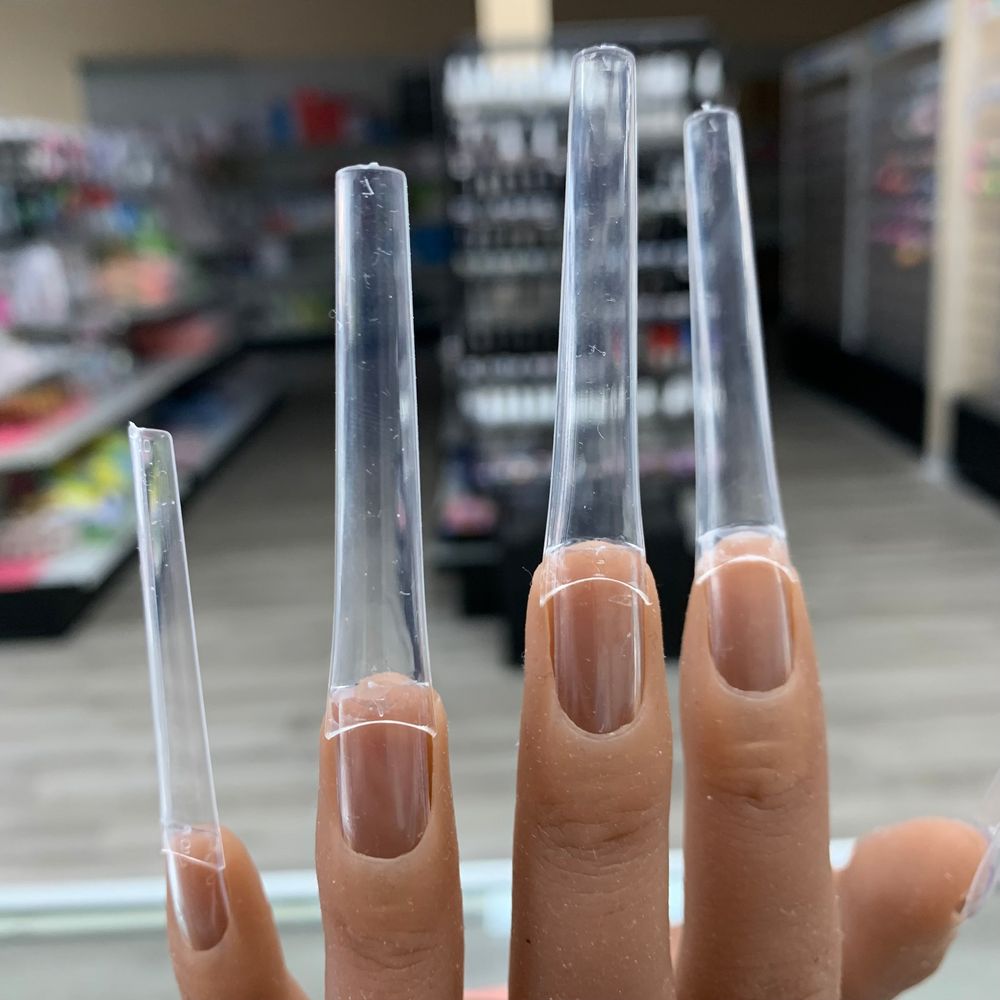
Sort the tips by size and test-fit each one to the natural edge. Because these tips are straight (not C-curve), make sure the width sits flush at the sidewalls without gaps. Choose the closest fit; slight sidewall filing is preferable to a loose fit.
3. Apply adhesive and place the tip
Apply a thin bead of glue to the underside of the tip or a small dot at the free edge of the natural nail—follow your adhesive instructions. Align the tip to the free edge and press firmly for several seconds, keeping the angle consistent to prevent air pockets.
4. Blend the seam
Once secure, gently file the seam where tip meets nail. A straight-profile tip sands smoothly into the natural nail when blended correctly; remove any ledge without over-thinning the tip. Use a buffer to smooth the transition before finishing.
5. Shape, finish and seal
Refine the coffin taper with a file to your preferred length and angle. Apply base coat, color or builder product as desired, then finish with a durable top coat. Proper sealing at the free edge and sidewalls improves longevity on extreme lengths.
Key features in context
- Straight profile: The lack of a pronounced C-curve makes alignment and blending faster—helpful for new techs and high-volume service.
- Extra length: XXXL size is ideal for editorial looks, nail art showcases, and clients who want a striking silhouette.
- Clear material: Transparent tips give a clean base for encapsulation, ombré, or full-coverage polish.
- Bulk and refill options: Choose a 420-piece box for salon stock or 50-piece refills for specific sizes and practice.
Buying options and cost considerations
These tips are sold in a box of 420 pieces or in 50-piece refill bags for individual sizes—pick the format that matches your usage. For salons that stock in bulk, consider the box option—XXXL long coffin tips box—for easy restocking. The box option is $12.00; prices may change. Available from Dynamic Nail Supply for professionals and enthusiasts.
Practical tips for long-wearing results
- Always check fit across the width of the nail—too-wide tips stress the bond, too-narrow ones split at the corners.
- Work with small amounts of glue to reduce overflow onto the nail bed, which can lift polish later.
- When shaping, maintain a consistent angle to preserve the coffin silhouette; remove small amounts at a time.
- Seal edges well with top coat or builder product to protect long tips from catching or chipping.
- Store refills flat and away from direct sunlight to avoid warping over time.
Who should use these tips?
XXXL long coffin tips are aimed at nail technicians, salon owners and dedicated hobbyists who want extreme length and a straight coffin silhouette. They’re especially useful for clients seeking dramatic nail art or designers building long, stable extensions.
Care and safety notes
Handle long tips with care during application and removal to protect the natural nail. Avoid prying tips off; soak or use the appropriate removal method recommended for your adhesive. When filing, use gentle, controlled strokes to prevent heat build-up or cracking. If a client experiences sensitivity during application, stop and reassess the adhesive and prep steps.
Conclusion
With the right prep, a steady hand and the straight-profile design of these XXXL long coffin tips, you can achieve dramatic, professional-looking extensions that are easier to apply and blend. Choose the box or refill format that fits your workflow, follow the step-by-step process above, and you’ll get salon-ready results every time.